Science doesn’t have to wait until school — in fact, some of the best learning happens right at home through play and exploration. With just a few common household items, you can turn your kitchen or living room into a mini science lab! These simple experiments are perfect for young children and offer hands-on ways to build curiosity, reasoning, and observation skills.
Let’s dive into fun activities that make science exciting and accessible!
Why Do Science Experiments at Home?
- Builds curiosity: Kids naturally ask “why?” — experiments help answer that
- Develops problem-solving skills: Testing, observing, and learning through trial and error
- Encourages critical thinking: Making predictions and drawing conclusions
- Strengthens parent-child connection: Shared discovery moments are memorable and fun
- Teaches patience and focus: Some experiments require steps and waiting
All of these benefits come while your child is simply having fun!
Safety First
Before starting:
- Always supervise young children
- Use non-toxic, age-appropriate materials
- Keep experiments away from electronics or open flames
- Have cleaning supplies nearby
Now let’s explore some amazing science in action!
1. Volcano Eruption (Baking Soda + Vinegar)
What You Need:
- Baking soda
- Vinegar
- Dish soap
- Food coloring (optional)
- A plastic cup or small container
How to Do It:
- Place the container on a tray.
- Fill it halfway with baking soda.
- Add a drop of dish soap and food coloring.
- Pour vinegar and watch it erupt!
What It Teaches: Chemical reactions, gas formation
2. Rainbow in a Jar
What You Need:
- Sugar
- Water
- Food coloring
- 4–5 clear cups
- A syringe or spoon
How to Do It:
- Mix different amounts of sugar in each colored water cup (more sugar = heavier liquid).
- Carefully layer them into one jar from most sugary to least.
What It Teaches: Density and layering of liquids
3. Dancing Raisins
What You Need:
- A clear glass
- Sparkling water or club soda
- Raisins
How to Do It:
- Fill the glass with sparkling water.
- Drop in a few raisins.
- Watch them rise and fall!
What It Teaches: Gas bubbles, buoyancy
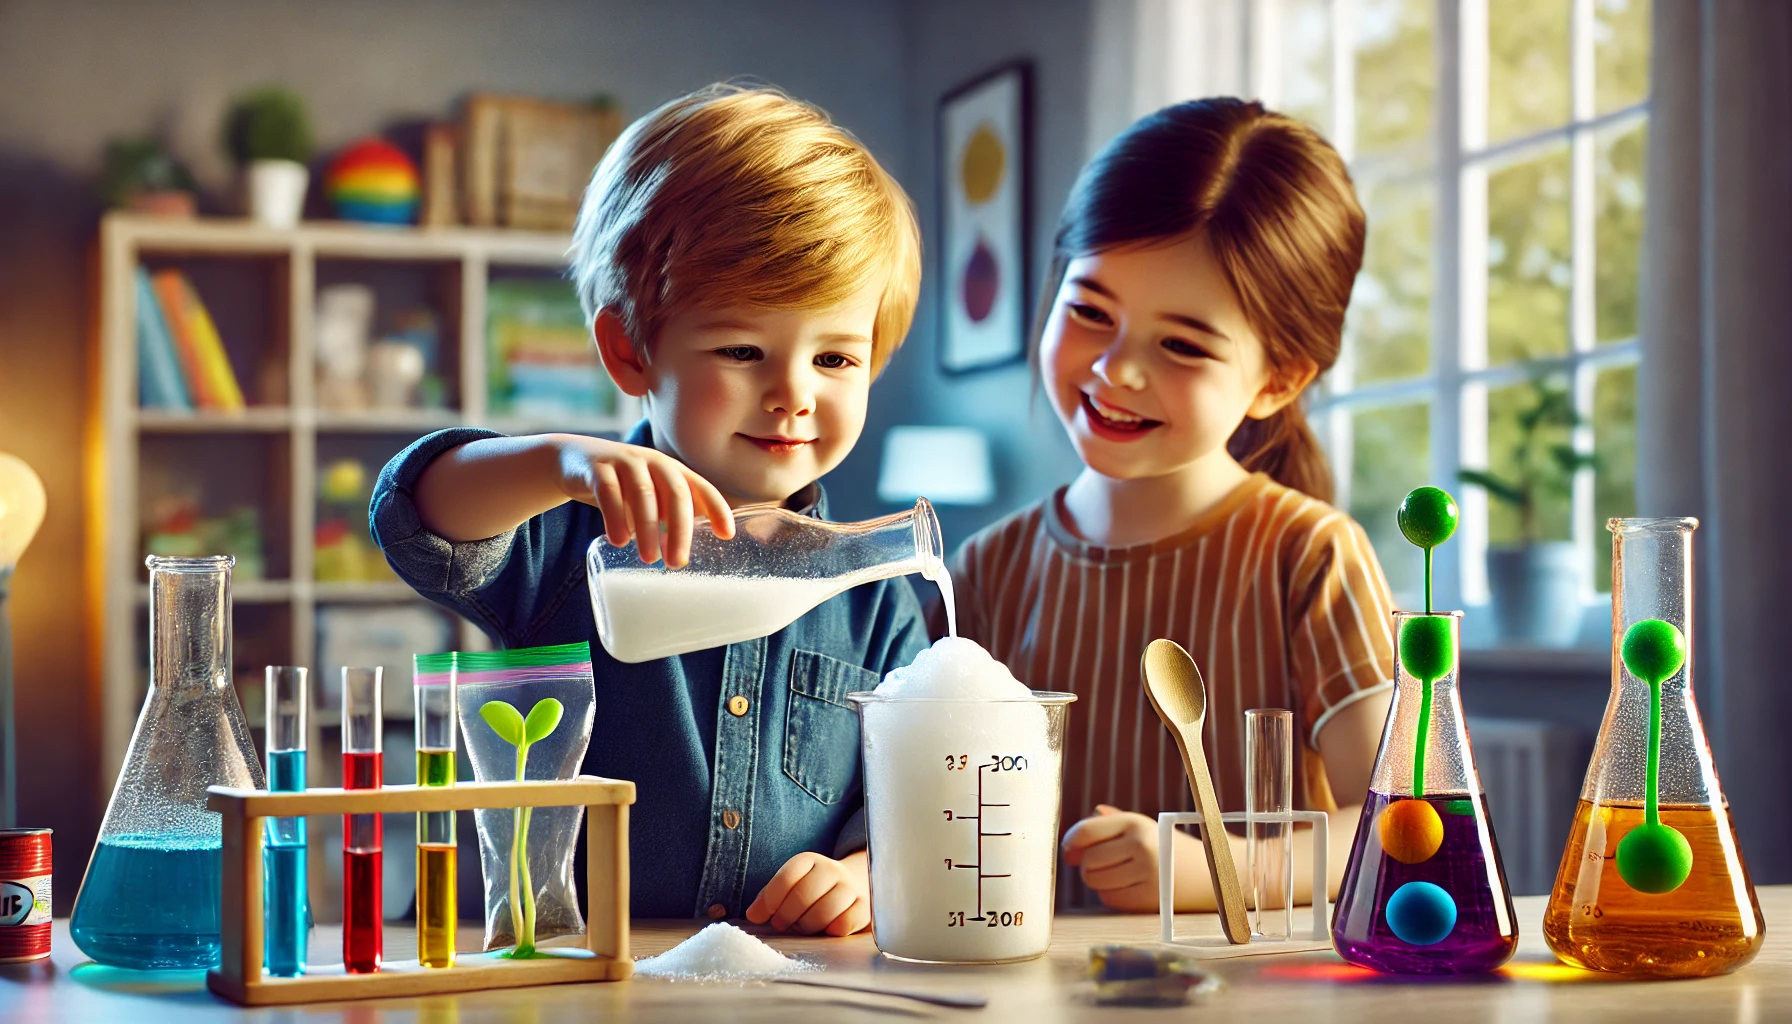
4. Magic Milk Experiment
What You Need:
- Whole milk
- Dish soap
- Food coloring
- A shallow plate
How to Do It:
- Pour milk into the plate.
- Add a few drops of food coloring.
- Dip a cotton swab in dish soap and touch the milk.
- Watch the colors swirl!
What It Teaches: Surface tension
5. Balloon Blow-Up Without Air
What You Need:
- Balloon
- Bottle
- Baking soda
- Vinegar
- Funnel
How to Do It:
- Pour vinegar into the bottle.
- Put baking soda inside the balloon using a funnel.
- Attach the balloon to the top of the bottle.
- Lift the balloon so the baking soda falls into the vinegar — it inflates!
What It Teaches: Chemical reaction creating gas
6. Walking Water
What You Need:
- 3 clear cups
- Water
- Food coloring (2 different colors)
- Paper towels
How to Do It:
- Fill the 1st and 3rd cups with colored water.
- Leave the middle one empty.
- Roll paper towels and place them between each cup.
- Watch as water “walks” into the empty cup and blends colors!
What It Teaches: Capillary action and color mixing
7. Floating or Sinking Test
What You Need:
- A large bowl of water
- Small household objects (coin, sponge, crayon, paperclip, etc.)
How to Do It:
- Let your child guess which items will float or sink.
- Drop them in one by one and observe.
What It Teaches: Buoyancy and prediction
8. Make Your Own Slime
What You Need:
- White glue
- Baking soda
- Contact lens solution
How to Do It:
- Mix glue with a pinch of baking soda.
- Slowly add contact lens solution until the slime forms.
What It Teaches: Chemistry, material changes
9. Homemade Lava Lamp
What You Need:
- Clear bottle
- Oil
- Water
- Food coloring
- Alka-Seltzer tablet
How to Do It:
- Fill the bottle ¾ with oil, then add water.
- Add food coloring.
- Drop in the tablet and enjoy the bubbly effect!
What It Teaches: Liquid density, chemical reactions
10. Growing a Bean in a Bag
What You Need:
- Dried bean
- Paper towel
- Water
- Ziplock bag
- Tape
How to Do It:
- Wet the paper towel and fold it inside the bag.
- Place the bean against the bag wall.
- Seal and tape to a window with sunlight.
- Observe the sprouting process over days.
What It Teaches: Plant life cycle and observation
Tips to Make Science Fun and Meaningful
- Ask your child to guess what will happen before starting
- Talk about why things happened afterward
- Use simple words for complex ideas
- Take photos to document the process
- Make a “Science Day” each week to build anticipation
Making Big Discoveries from Small Experiments
You don’t need fancy lab equipment or complex theories to spark a love for science. With just curiosity and a few household items, your child can begin to understand how the world works. These fun, hands-on experiments provide powerful learning — and unforgettable moments shared between parent and child.